You will need about 5 yards to make the skirt. This really depends on how big your hoopskirt is, but this should be enough for any hoopskirt.
First you measure from your waist to over your hoopskirt. The length of the skirt should be from 2" to 4" off the floor. Younger ladies to around the age of 15 or sometimes 16, wore their skirts a little shorter. The age really depends on when the girls parents wanted her to mature into women-hood. If you are too young and wear a longer length, gentlemen might get the wrong idea and think you are available. Many times they added tucks to the skirt, so when they got old enough to wear the longer lengths, they could take the tucks out. Now measure the back length and on the either sides of your waist.
After you measure the length of the hoopskirt, add 1" to this measurements. This is for the bottom and top seam allowances. Now add about 2 to 3 inches.(This will be turned under at the top of the skirt.)You then decide how long you want the finished length to be and add that to the measurement you just arrived at.
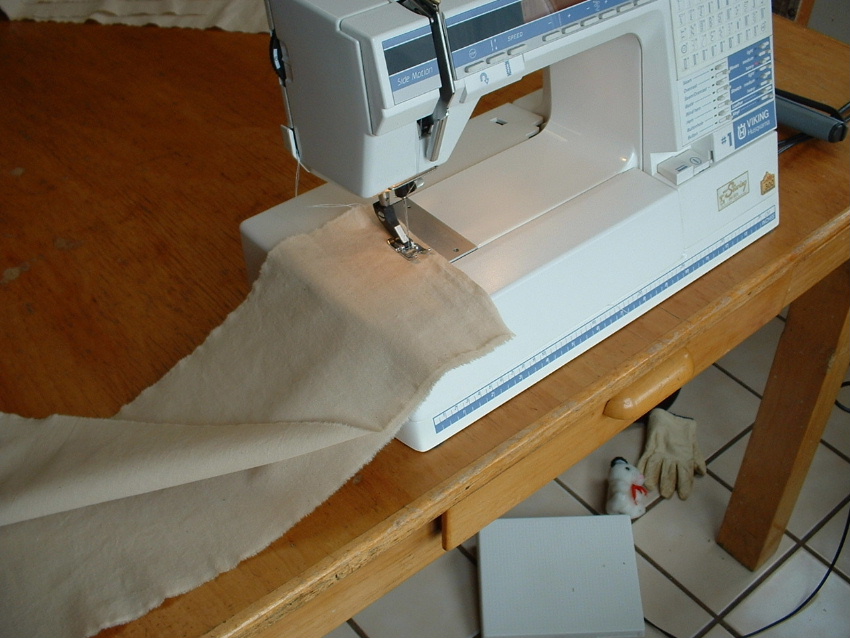
Cut 4 panels the length you have just arrived at. Use the longest measurement you have to cut the panels. To cut the panels, make a small cut in the selvedge edge and rip all the way down to the other selvedge edge. This makes a nice straight cut and is much easier than cutting the whole length with a pair of scissors. I do suggest for more delicate materials that you cut the length with scissors and NOT use the ripping method. Although, to make a nice straight line, before I cut through the material, I usually measure the length I need and then make a mark on each edge and a few marks in the middle. Seam all the selvedge edges together.
The bottom edge of the skirt is worked before the top edge. You need about a yard of brown cotton (45" wide) or to be more period correct use polished cotton for the hem facing. Use the ripping method to cut 6" to 8" wide strips. You need about 5 strips. Seam the selvedge edges together except for the last two edges keep unseamed.
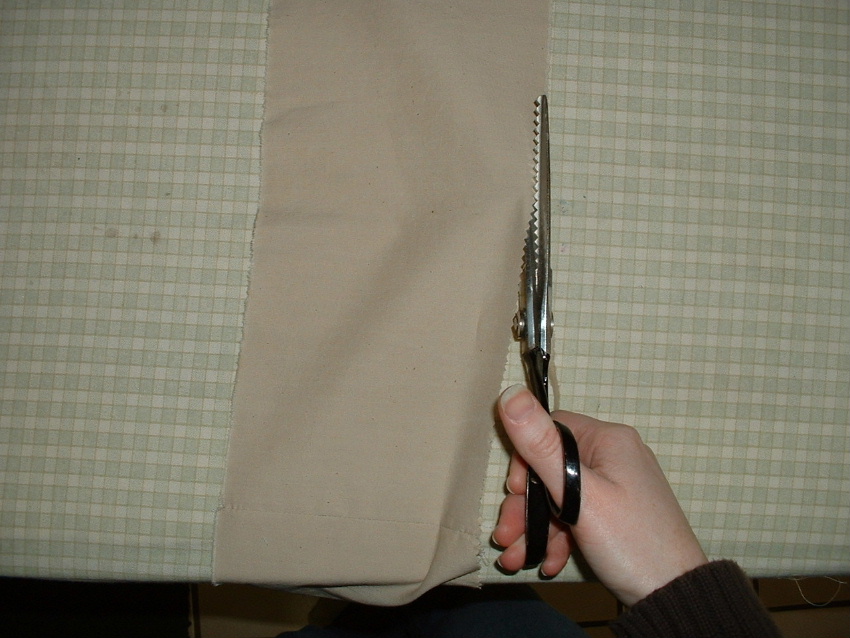
Press the seamed edges open. With pinking or scalloped sheers, cut one long edge all the way down to the other side.
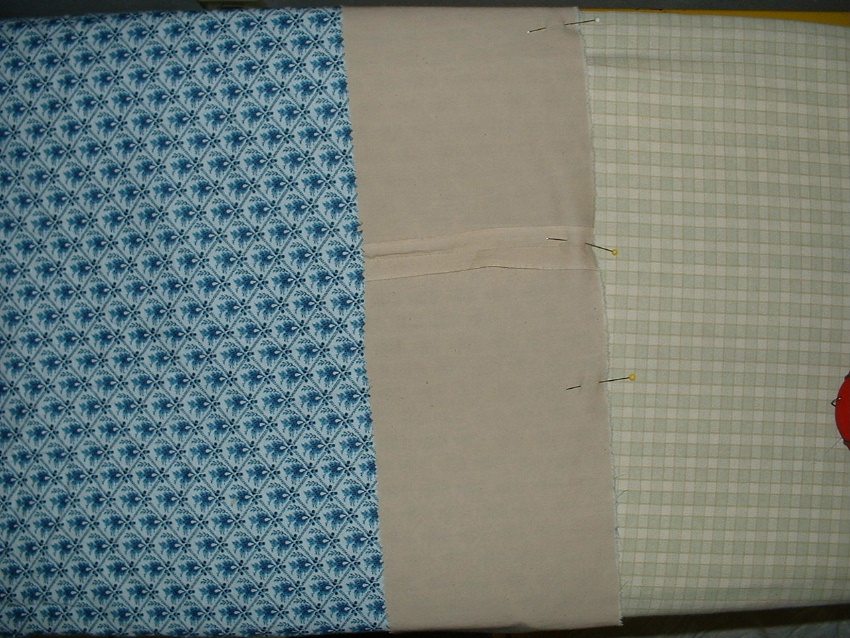
With right sides together, pin the hem facing to the bottom skirt edge.
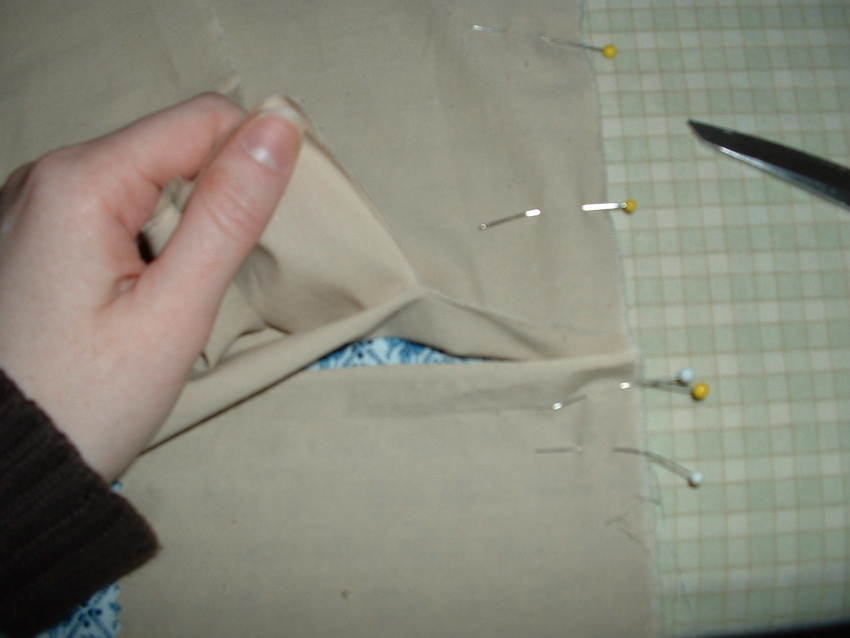
There will be extra hem facing than needed, so cut off the excess. (I just rip it off.) But, you need to make sure there is enough to seam the last two edges together.
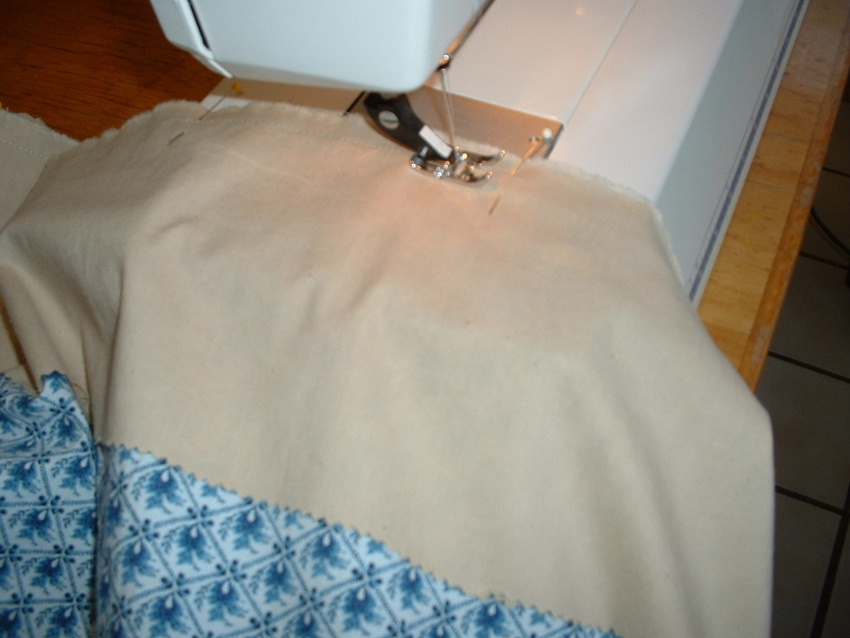
Now, sew the skirt edge and the hem facing edge together about ½ inch away from edge.
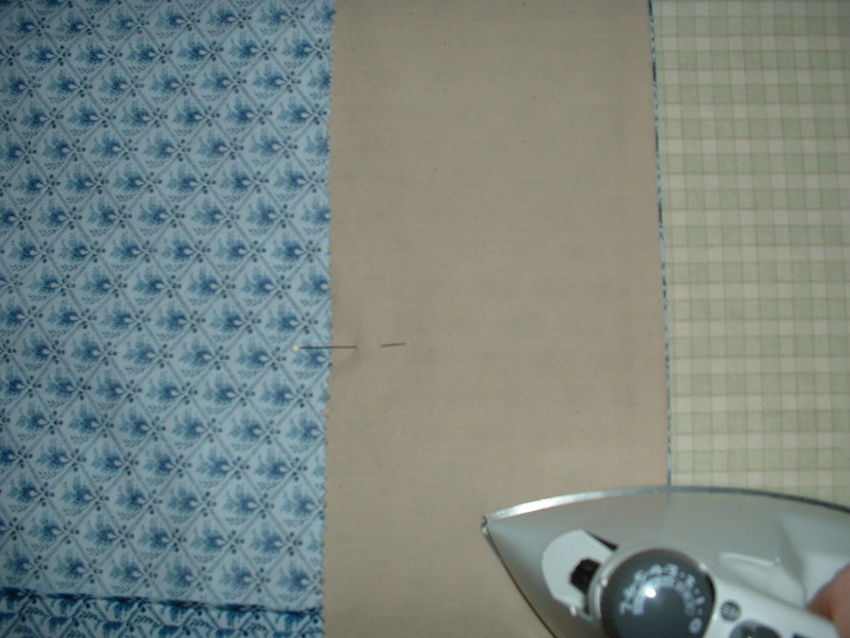
Turn hem facing out and iron the seam towards the hem facing.
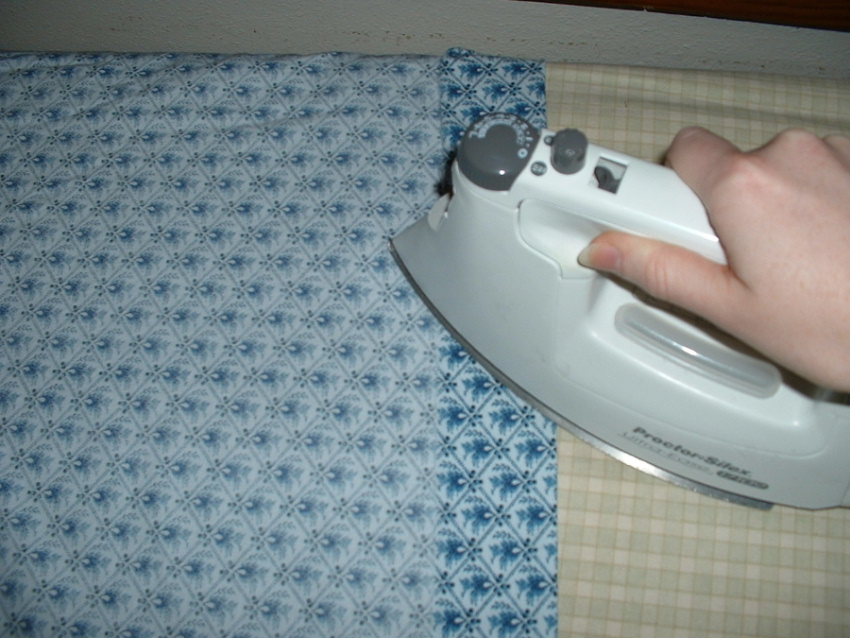
Now turn the hem facing all the way to the inside. Press and pin the facing down. Dont turn your pinked or scalloped edge under, this stays up. Make sure and place the pins near the pinked or scalloped edge.
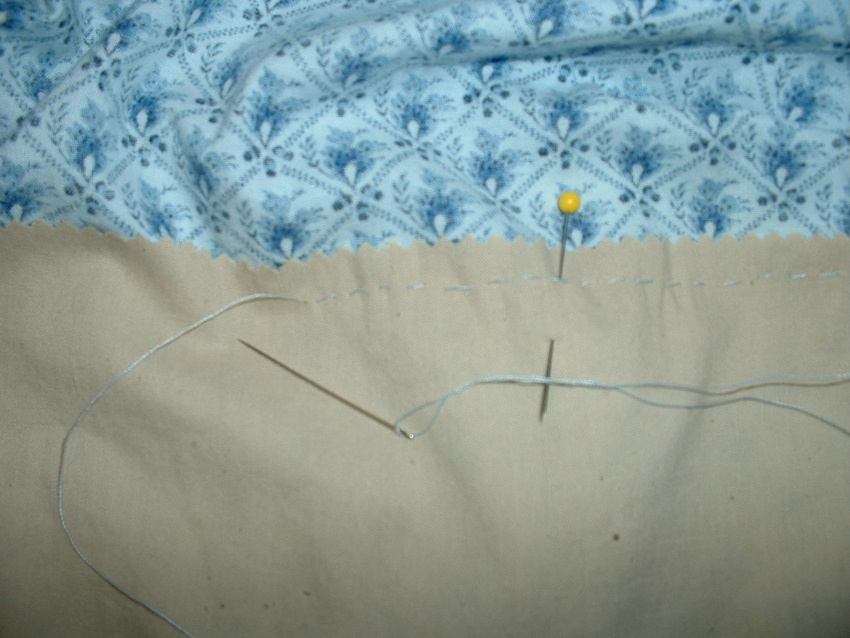
After you are all through pinning the facing down, you now can hand sew a running stitch about 3/8" or so away from edge. Its faster if you make smaller stitches on the outside, but a little larger stitches on the inside.
Now that you have finished the hem, you figure out how long you would like the skirt to be and fold over the excess fabric to the inside. You may need to fold over more in the front than the back and sides, this depends on the measurements you took at the beginning.
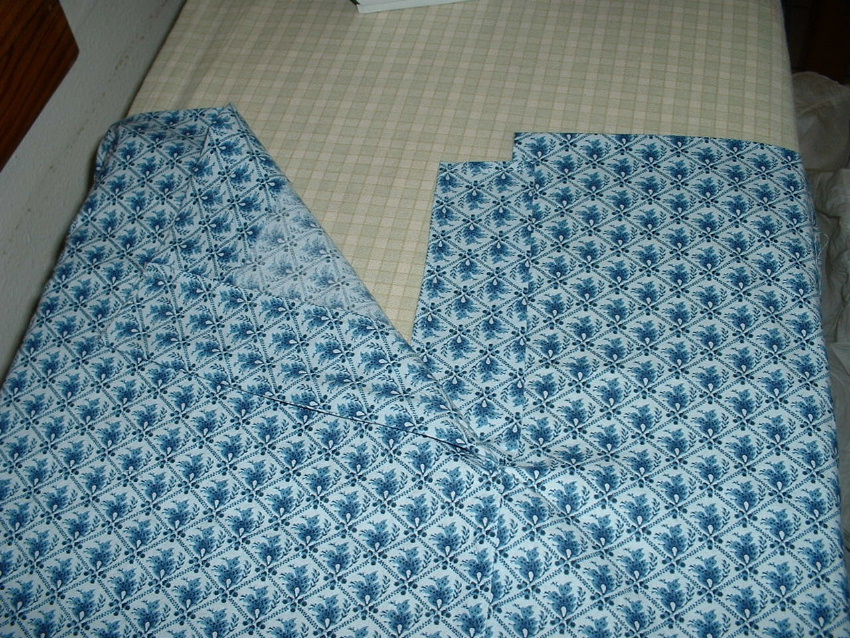
The middle front should be the middle of one of the panels. But, the opening will be a side-front opening. So, what you are going to need to do is take out about 8 inches of the left or right side seams. I usually take out the left side since my bodice opening (the place where the buttons are placed), on the left side, usually overlaps the right side. But, if you have the right side of your bodice overlapping the left side, you will want to take out the right side seam. Once you have taken out about 8" of the seam (this doesnt include the overlapped part, the overlapped part is extra) secure the seam by making a few extra stitches with your machine where you stopped the opening. You will now need to add a placket to the opening. To do this you will need to cut a strip out of the same material you used for your dress two times the length of your opening by about three inches wide. The placket, I think, is one of the trickiest parts, but you will soon get the hang of it. Open the opening of the skirt all the way so it looks straight. Now, start by pinning your placket (I usually start from the left to the right) right sides together to the opening.
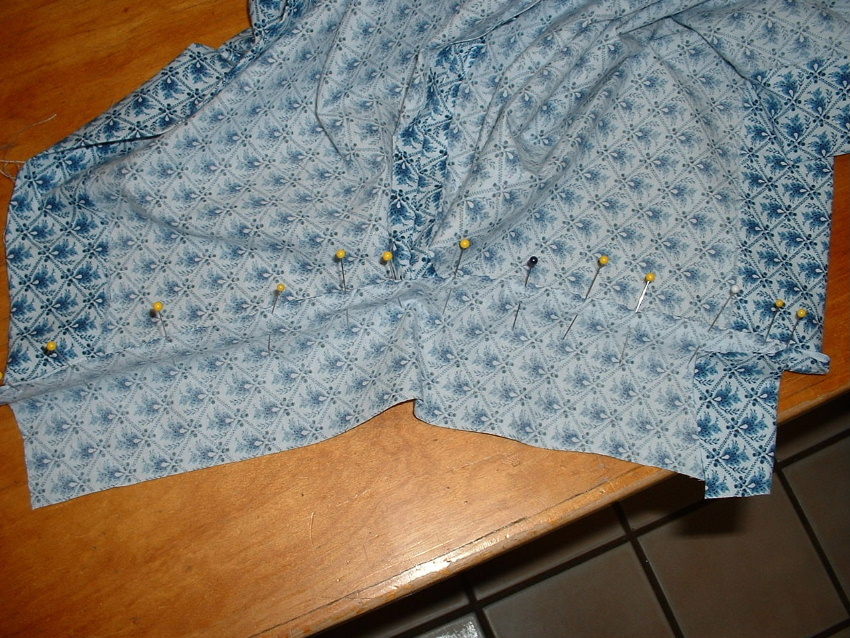
The tricky part is sewing it together with the machine. I start sewing a ½ inch seam and then when it gets closer to the middle, I change to a 1/4 inch seam. You need to try and sew the middle part so that you dont catch any other fabric other than the placket and the edge of the opening. Often times I accidentally catch some extra fabric from the skirt and so I have to rip that part out and re-sew that part. You might find it easier to just hand sew the placket. That way you probably wont mess up as much as if you use the machine.
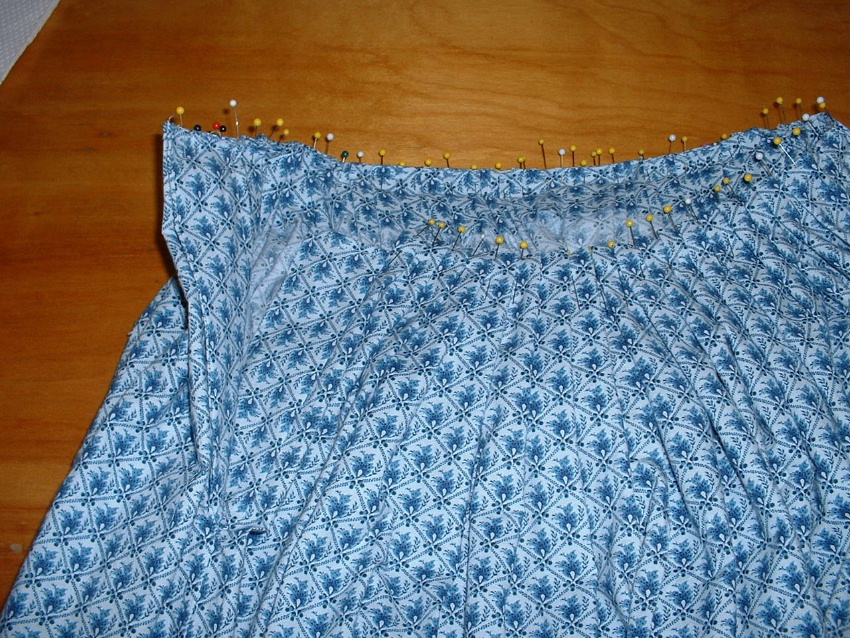
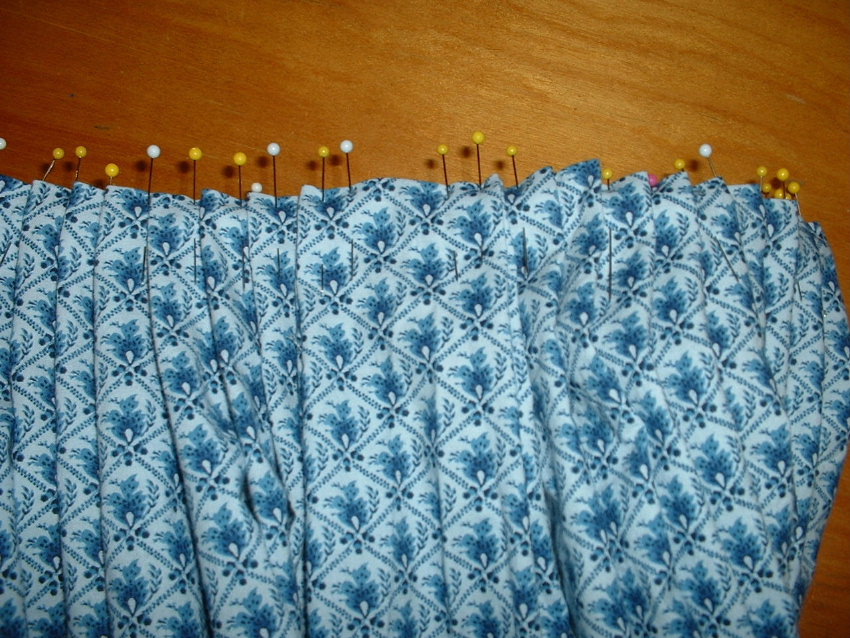
Well, you are almost done with the skirt! All you need to do now is pleat it, add the waistband, hooks and eyes, and hem braid. To knife pleat the skirt, follow the directions bellow:
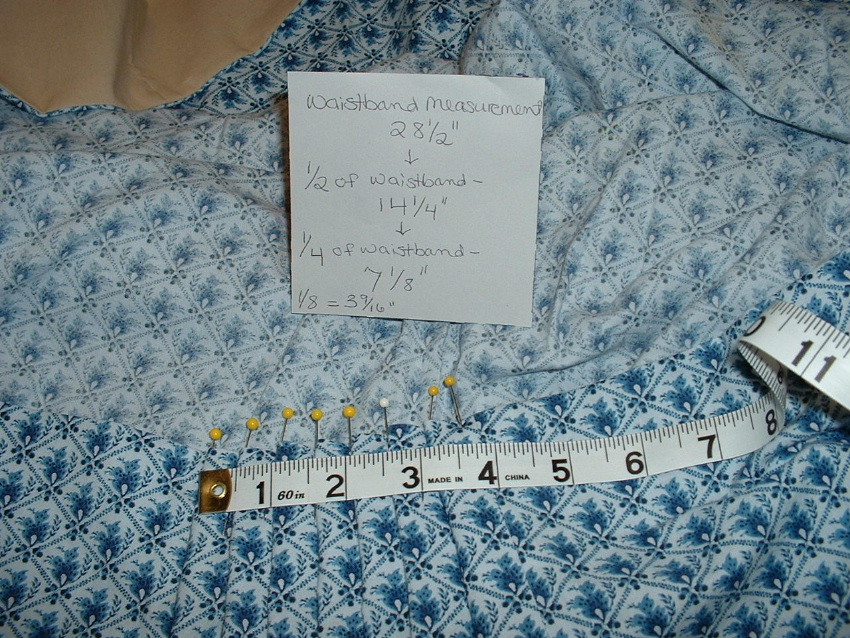
Divide the skirt in four equal parts. A section in the front, back, and sides. You take your waist measurement (or waistband measurement) and divide it by four, this will be how wide you need to pleat each section. For example, if you were a 27" or 28" waist, than you would pleat each section so that the finished measurement for each section would be about 7". You kind of have to experiment to see how much fabric to pleat so that you have your finished measurement at the end of a section. I usually try 2 ½ " for each individual pleat and see if at the end of the section it measures 7". I find I have to make the pleat a little larger at the back. Like about 3" or 4" to pleat with. Now, you will only really see ½ " to 1" of the finished pleat so each pleat should not be 3" or 4" wide, that is just how much fabric you use to make each pleat. The knife pleats should point toward the front and then toward the back. The front and back should have an inverted knife pleat. The sides should have a box pleat. An inverted box pleat is the opposite side of a box pleat. It looks like two pleats facing each other. If you dont know what a box pleat is, look in a sewing manual or the Internet.
Here is a picture of the outside (right side) of a box pleat.
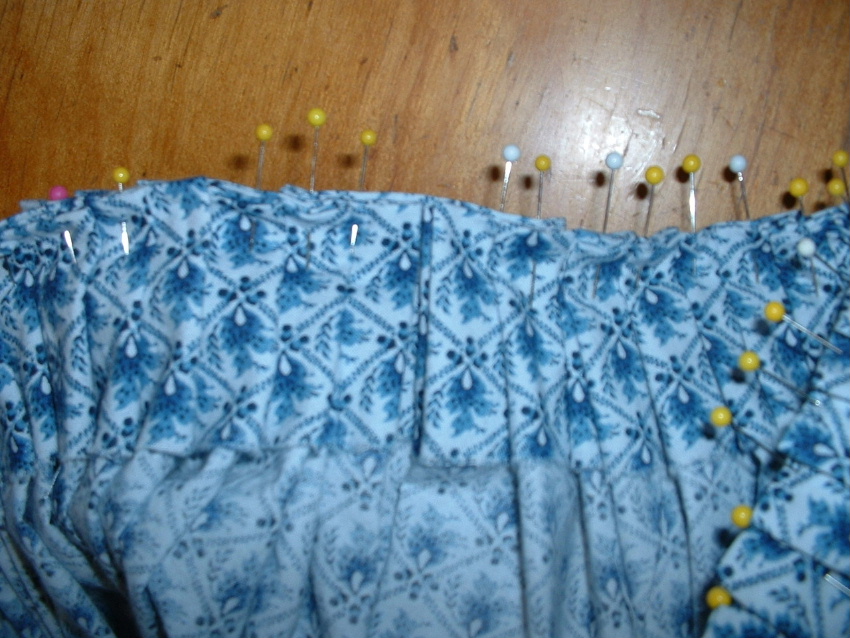
This picture shows the inside of the box pleat.
Next step is adding the waistband. To do this, you MUST have your bodice finished. The reason being that you need to measure the inside of the bodice for the correct waistband measurement. Measure the inside of the bodice, as it said above, and then add 2 inches to that measurement.
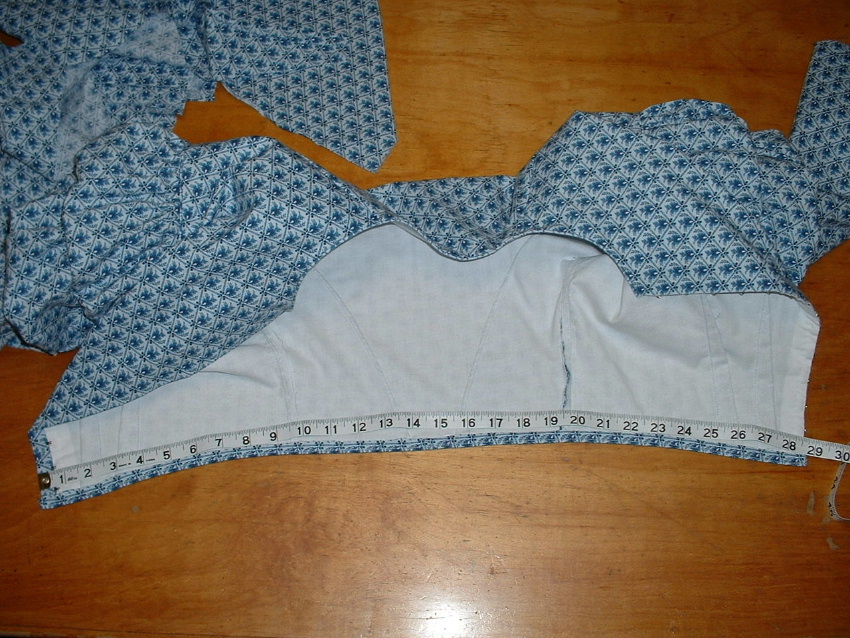
Cut a strip the length you measured (plus the 2 inches) and cut it 4 inches wide. Fold the waistband right sides together and seam one edge ½" and then the other edge sew what looks like an L shape. To do that you sew ½" vertically and then 1" horizontally. (Make sure you sew the horizontal stitches away from the raw edge about 5/8 inch.) Turn and press. Place the waistband right sides together with the pleated edge of the skirt and pin. Sew together. Turn the waistband to the inside, turn the raw edge under and pin in place. Whip stitch the turned edge. Now add two hooks to the inside of the side that comes out an inch. (The side I sort of labeled L.) Now sew the eyes to the other side, only the eyes should be on the right side of the waistband.
Now all you need to do is add the hem braid and your done with the skirt!!
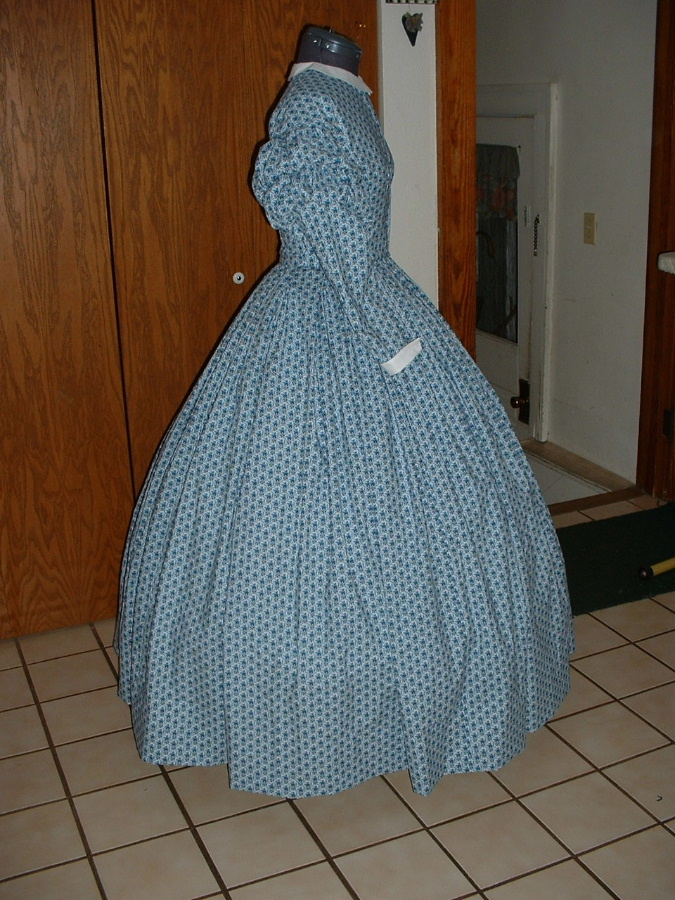
Here are some additional pictures of the skirt with the bodice attached: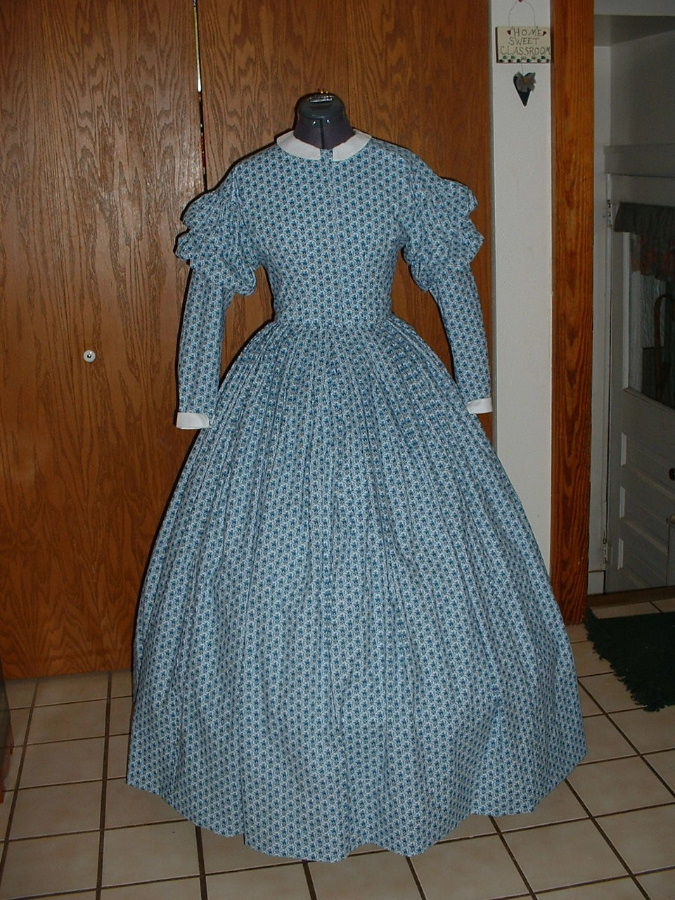
By Carolann Schmitt of the Genteel Arts Academy
Please do not use without the permission of Carolann Schmitt.
The bottom of the skirt is usually finished with a piece of wool braid. It protects the bottom of the skirt from wear and fraying, as well as providing some protection from dirt and mud. The braid on original dresses is approximately 1/2" - 5/8" wide, and I've found it in both plain and twill weaves. The color varies, and with the exception of black or white, usually complements the colors of the dress rather than matching them exactly.
I've found it applied in a variety of techniques. In order of most common to least common:
- Folded around the bottom of the skirt. Usually it is sewn with a running stitch, but I've found several examples that were machine sewn.
- Sewn flat to the wrong side of the skirt, so that 1/2 - 3/4 of the width of the braid sticks out below the bottom edge. Usually put on with a running stitch, but I've also found it attached with a whip stitch. This technique is mentioned in Beadle's Dime Guide to Millinery and in several articles in period magazines.
- Inserted into the seam between the fabric and the hem facing. Not very practical - you have to take apart the hem facing to replace it.
- Bottom of the skirt hemmed (no hem facing); braid folded around hem and sewn with a running stitch.
- Skirt fabric folded approximately an inch to the wrong side; hem braid wrapped around fold and sewn with a running stitch; bottom of hem facing felled over top of braid with a whip stitch. This application may result from an alteration to the length of the skirt.
You can find wool hem braid today, although it is slightly heavier and a little stiffer than that used on original garments. Wooded Hamlet carries it in a variety of colors, as does Needle and Thread. A less expensive alternative with the same look and texture but a different feel is cotton twill tape (100% cotton, not poly/cotton or polyester). I don't recommend poly-cotton double fold bias tape as a hem braid. It doesn't have the correct look, texture, or feel; and it doesn't wear well.
I frequently buy whole bolts of white or natural hem braid and dye it myself. Cut the braid into pieces - long enough to go around your skirt plus a half-yard for shrinkage. Start with a neutral shade like a tan or beige. When the first batch is dyed, don't empty the dye pot, just add another color like blue or green, dye another batch, add another color, etc. I end up with several neutral "can't name the color" shades that work well with almost any color combination or pattern.
Hang the tape to dry, then press. To set the colors and prevent bleeding, immerse the dried tape into a salt water solution (one part salt to nine parts water), allow them to soak for a half-hour, rinse, and let dry. A similar solution of distilled white vinegar and water may also be used to set the colors.
